Everyone’s been raving about the Korean lash lift… but how does it actually work?
In this guide, I’ll walk you through the full Korean lash lift method from start to finish, using the viral technique that creates that clean, straight, lifted look with maximum length.
This version is ideal for clients with medium to strong natural lashes, and it combines the best parts of both:
-
Glueless lash lift method (for easy processing + less stress attaching stubborn lashes)
-
Standard Korean flat jelly shield method (for controlled softening at the base for that “perfect lift”)

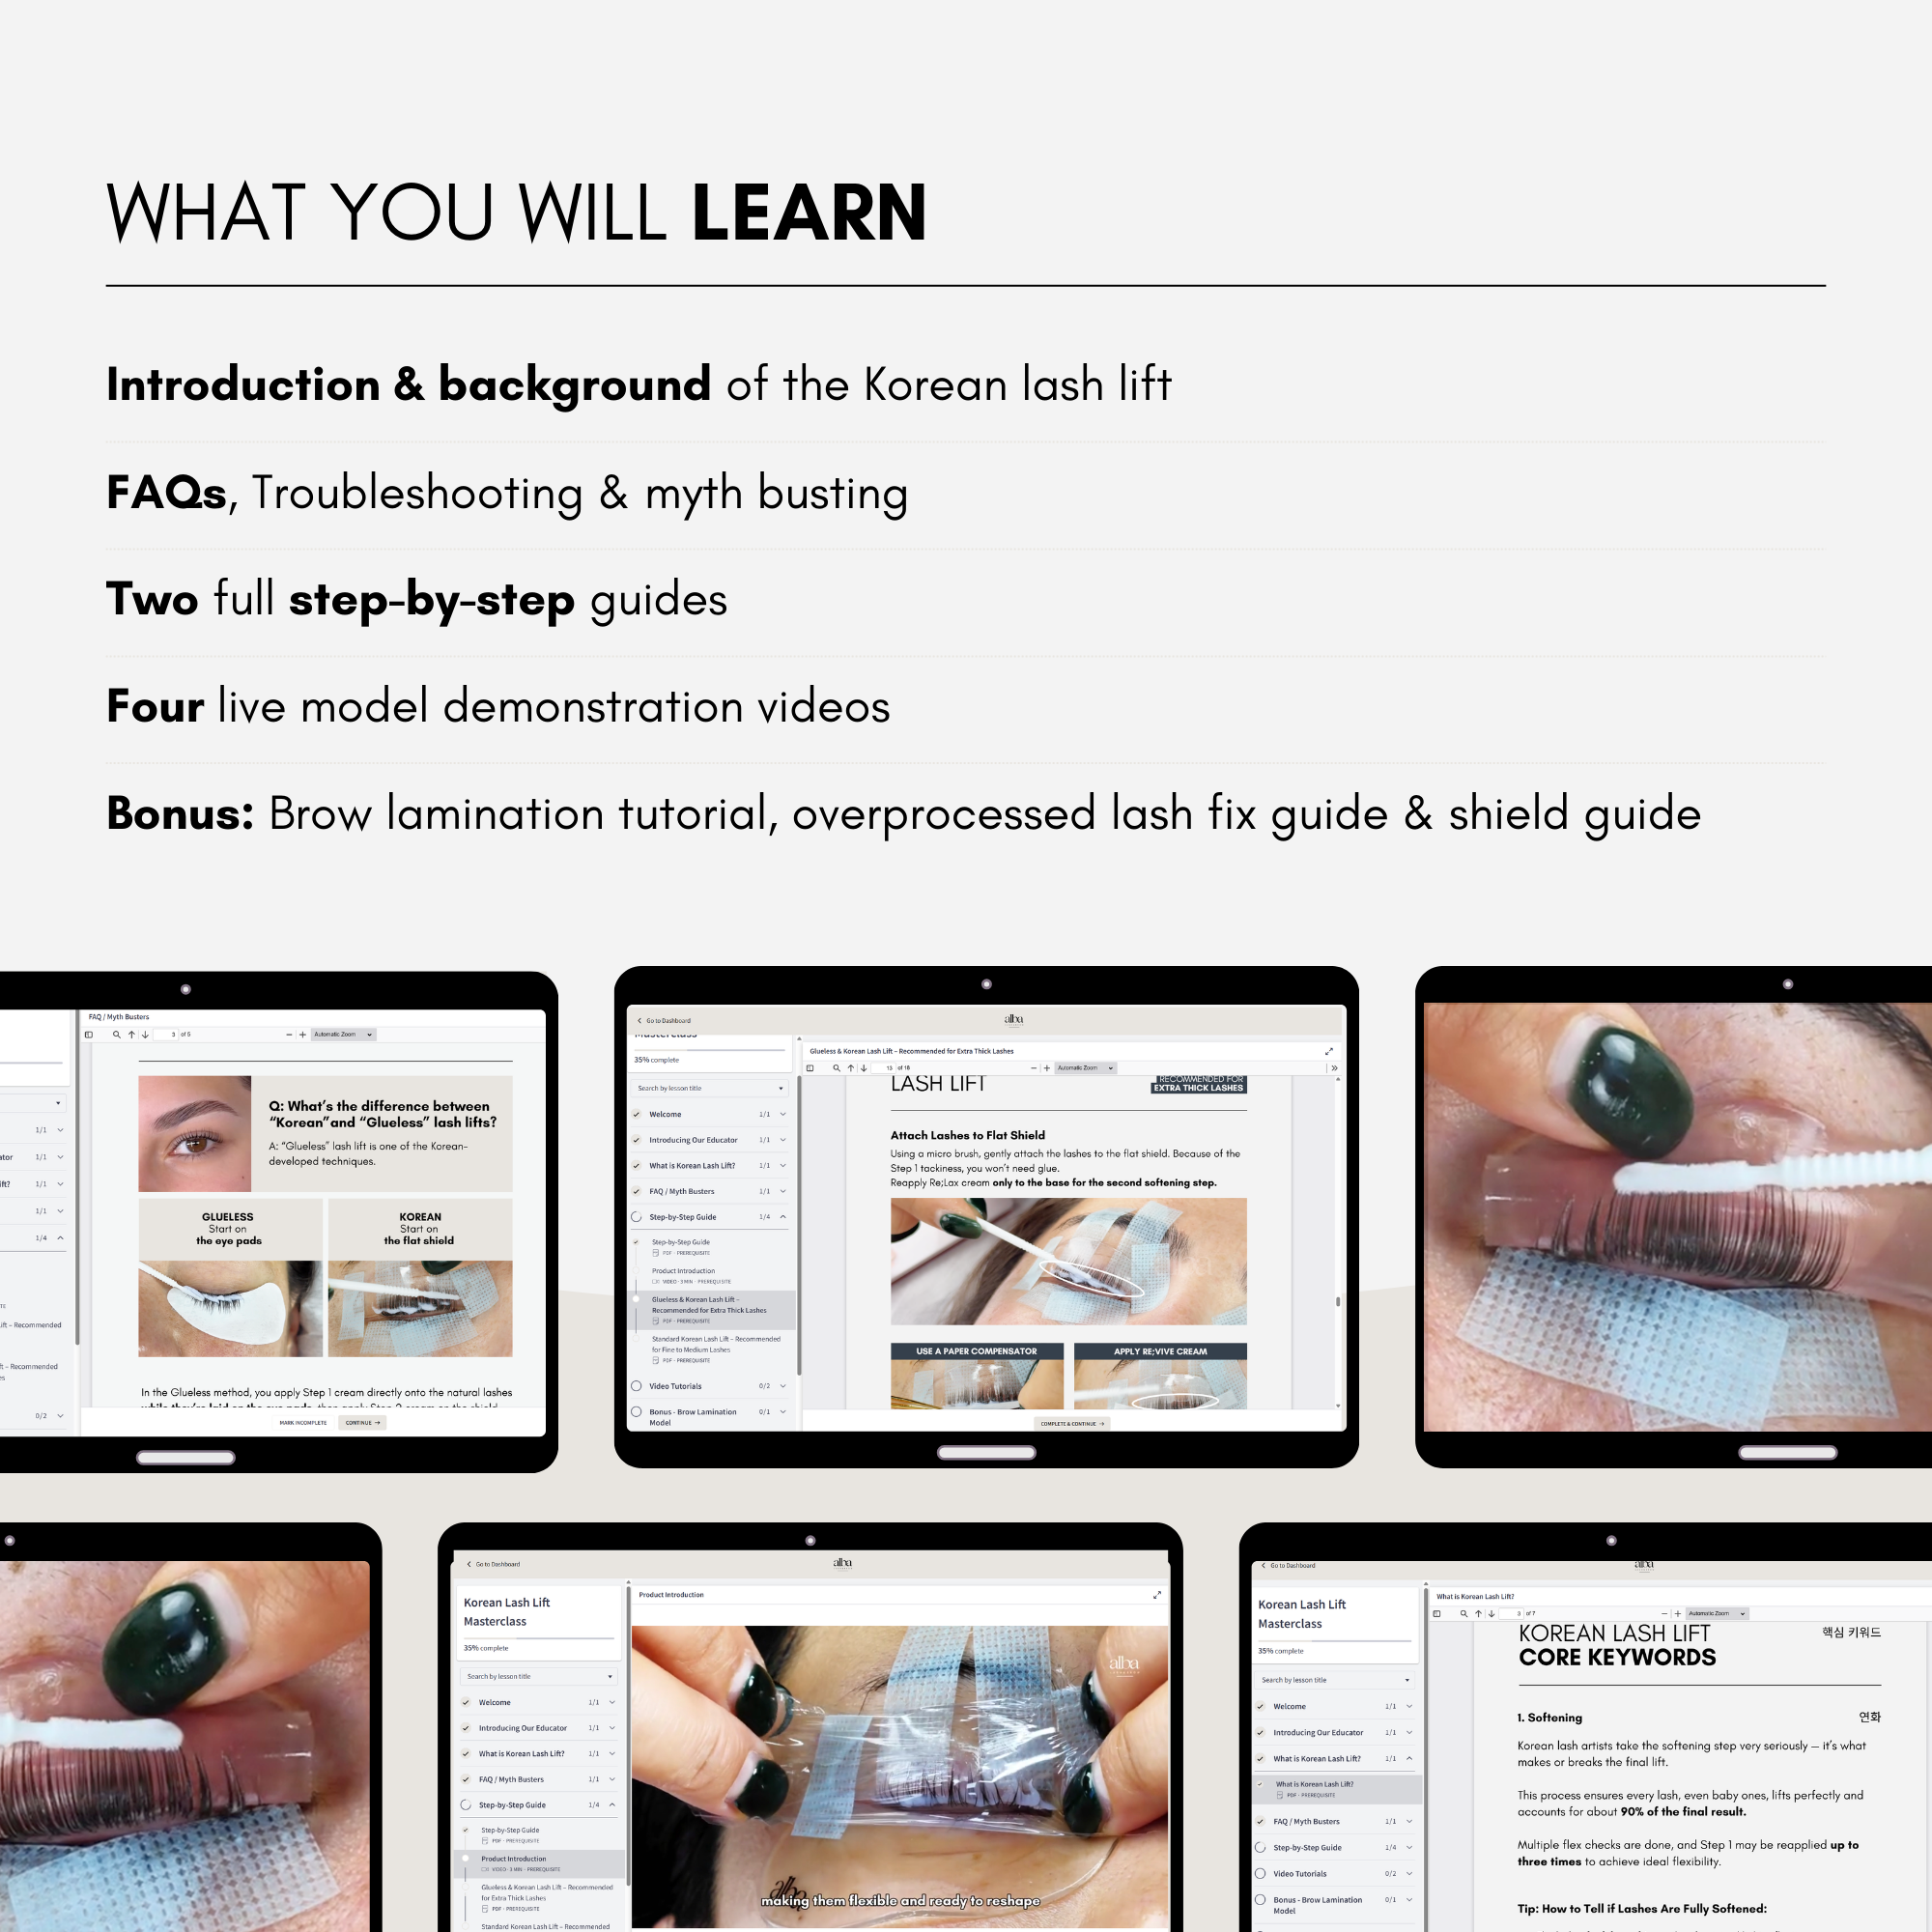
What You'll Learn
- Step 1: Cleanse + Under-Eye Taping + Eye Pads
- Step 2: Choose the Right Shield
- Step 3: Mix Re;Fine + Re;Lax
- Step 4: Apply Step 1 Re;Lax Cream
- Step 5: Start the Timer (Step 1)
- Step 6: Cover Lashes with Cling Wrap
- Step 6.5: Optional Tip Protection with Re;Vive
- Step 7: Wipe Step 1 at 2/3 Processing Time
- Step 8: Eyelid Taping
- Step 9: Place the Flat Jelly Shield
- Step 10: Attach Lashes to the Flat Shield
- Step 11: Remove Step 1 When Fully Softened
- Step 12: Attach the Main Curling Shield
- Step 13: Wrap Lashes to the Shield
- Step 14: Step 2 – Re;Form
- Step 15: Optional Tint + Clean Up
- Bonus: Lash Lift Aftercare (Client Instructions)
Step 1: Cleanse + Under-Eye Taping + Eye Pads
Start by thoroughly cleansing the natural lashes so they’re free from:
-
makeup residue
-
oils
-
dust and debris
Any residue can act like a barrier and stop Step 1 from working properly.
After cleansing:
-
Tape down the bottom lashes
-
Place your under-eye pads on top
Pro Tip: Keep tapes and pads slightly away from the waterline.
If they sit too close, your client can get watery eyes and discomfort which can interrupt the whole service. Always ask your client if everything feels comfortable before you continue.
Step 2: Choose the Right Shield

Do a dry shield check first to confirm your curling shield size.
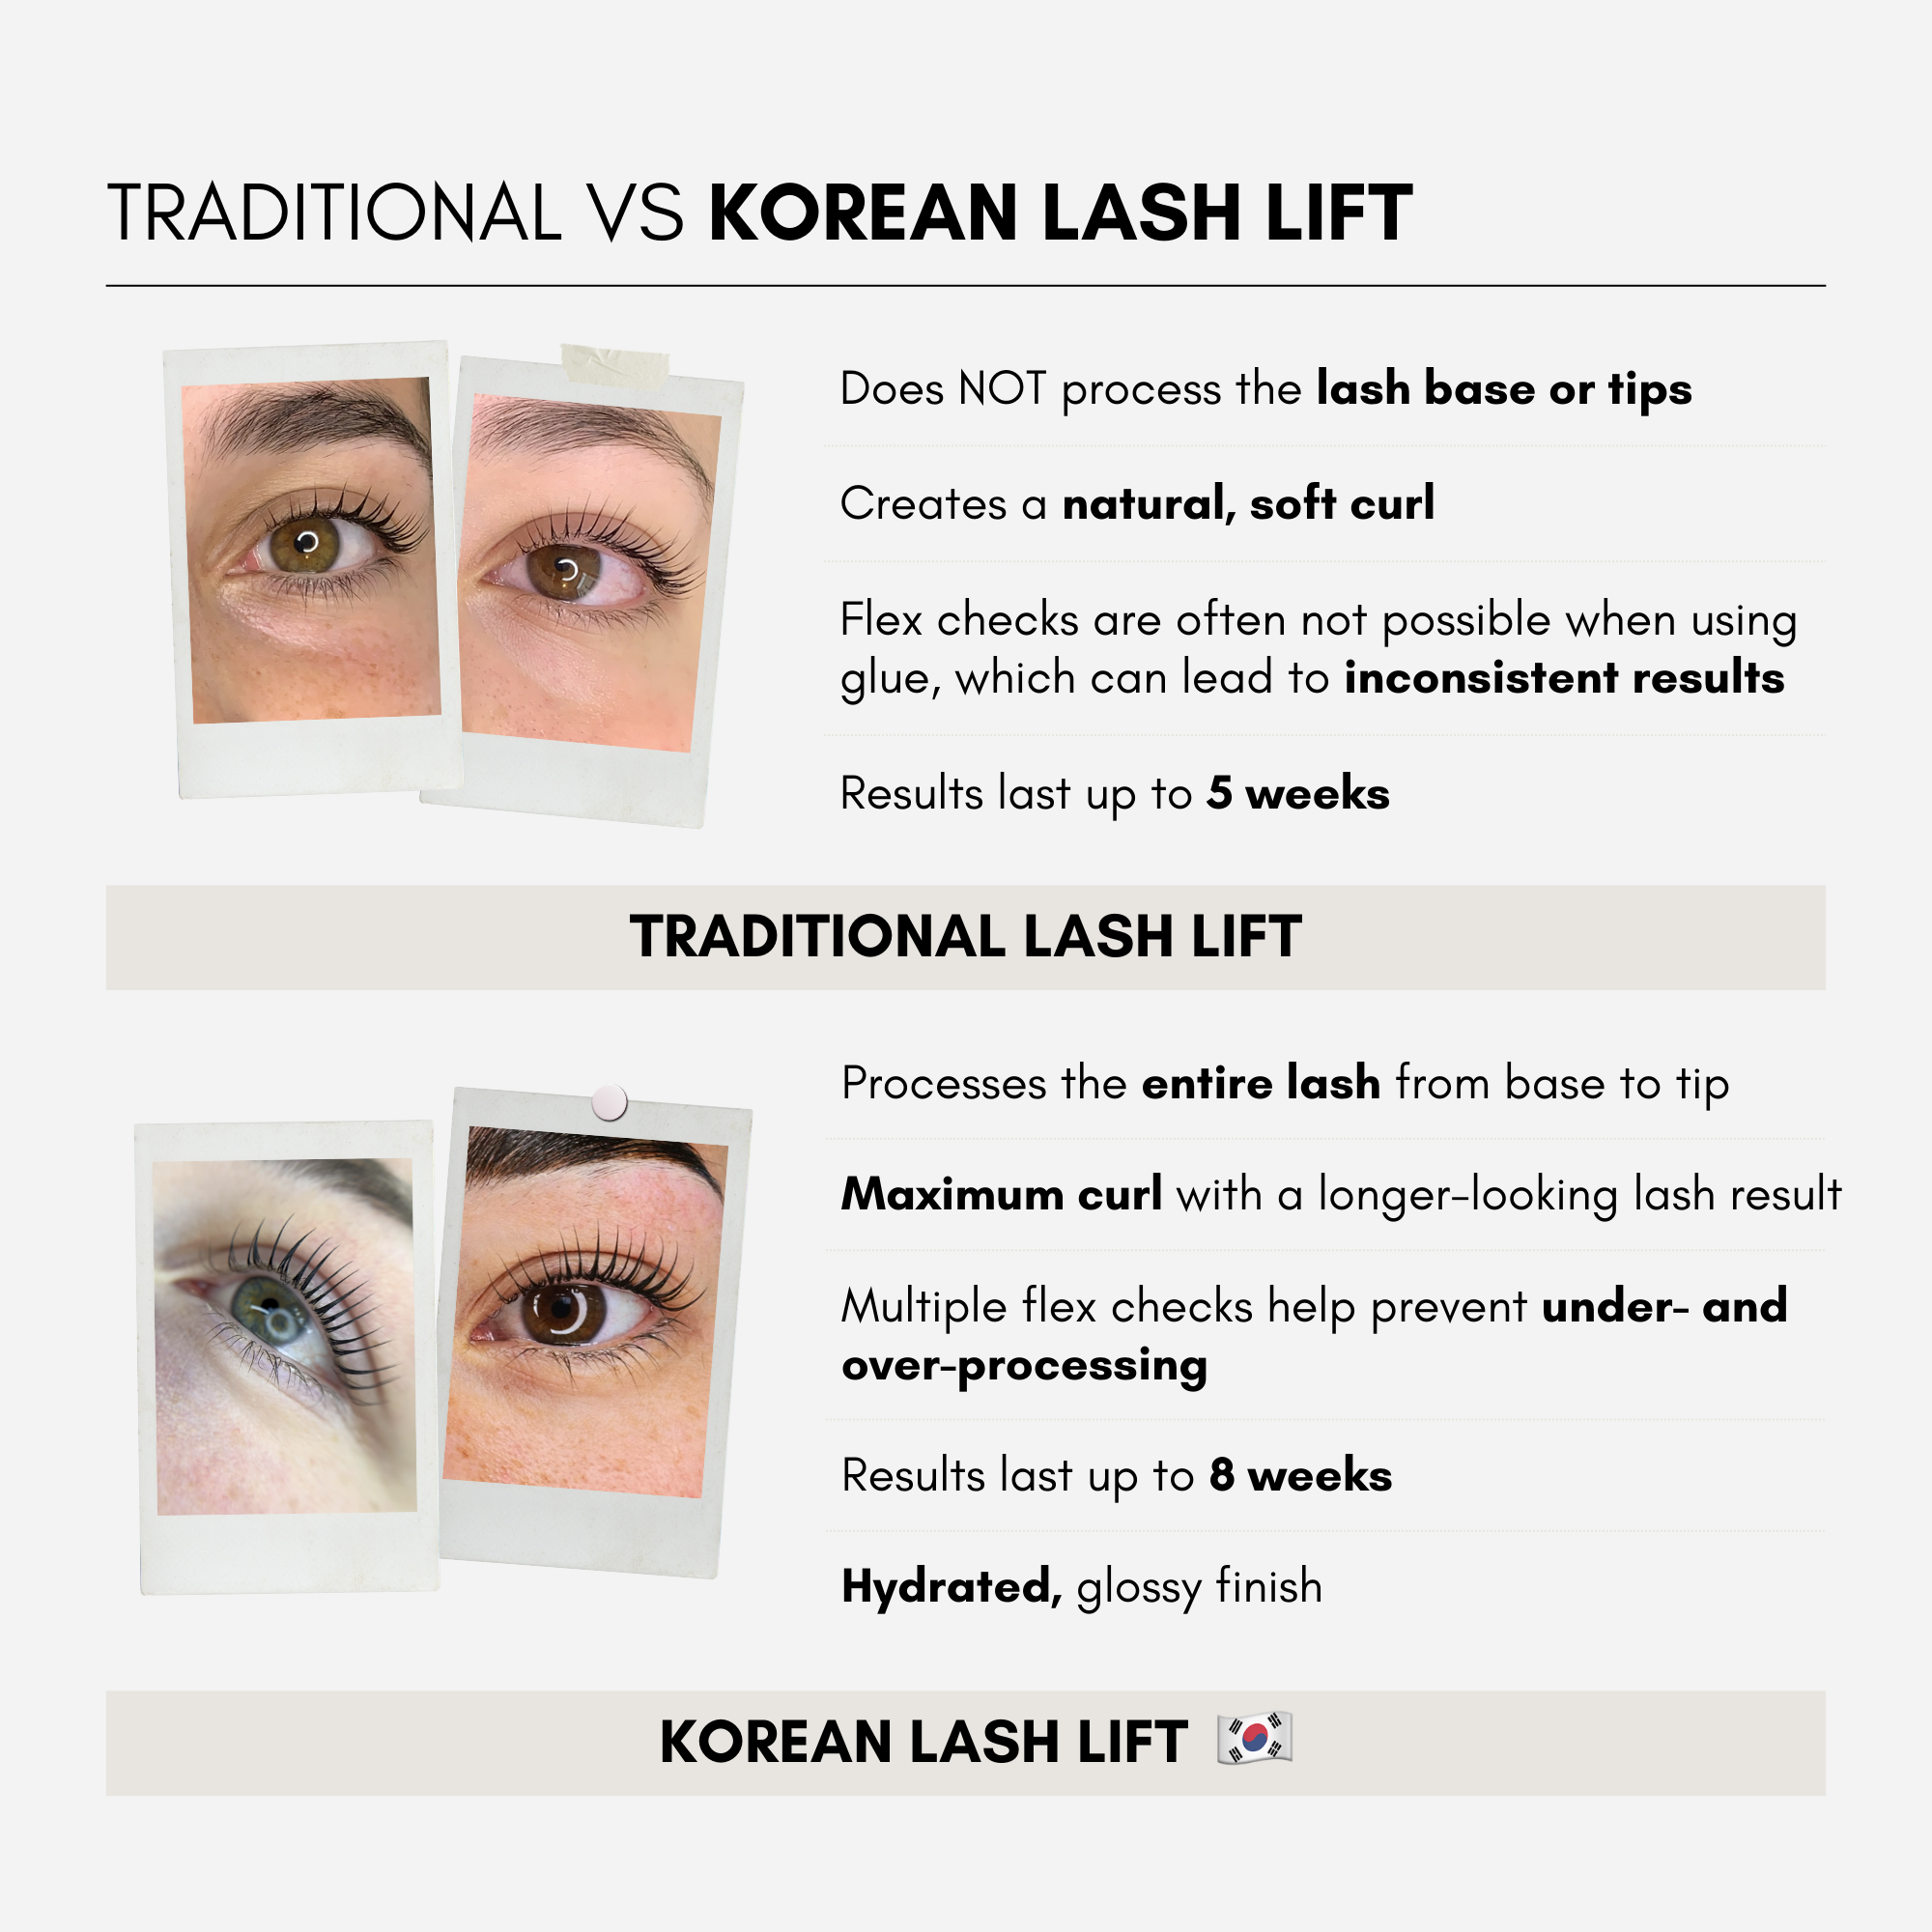
✅ Korean lash lift rule: You’re processing the entire lash from base to tip, so you’ll usually want to go one lash lift shield size bigger than your “usual” size.
Simple rule:
-
Lashes should reach about 60%–70% up the shield
-
If lashes go beyond the body of the shield, the shield is too small (risk of overcurl + touching the eyelid)
Important exception: Some shields (like the Alba V Curl Shield) are different.
For those, lashes should sit around 40%–50% max, so always read the instructions for each shield style.
Tip: Hooded / Deep-Set Eyes
For clients with hooded or deep-set eyes and a prominent brow bone:
-
Choose a shield with a gentle base curve (like the Expert Shield)
-
Avoid overly sharp, aggressive base curves
If you go too strong, lashes can get squished and look uneven. It can also feel uncomfortable for the client.
To prevent tips touching the eyelid:
-
go slightly larger
-
and consider not processing the very tips to keep them straighter instead of curling inward
Want to learn more in depth about lash lifting shields? Check out our ultimate guide to lash lift shields blog.
Step 3: Mix Re;Fine + Re;Lax

Korean lash lift technique requires your solution to be:
✅ thicker
✅ stickier
For Alba Re;Set lash lift system, mix:
80% Step 1 Re;Lax Cream + 20% Re;Fine Viscosity Modifying Gel
This thicker texture:
-
stops product running into the eyes
-
gives more control during processing
-
makes attaching to the shield so much easier
You can mix Step 2 Re;Form cream as well if you prefer, but it’s optional.
Step 4: Apply Step 1 Re;Lax Cream
Using a brush or applicator, apply a generous amount of Step 1 cream directly onto lashes laid over the eye pads, from base to tips.
-
Apply a thicker layer at the base
-
Apply a thinner layer toward the tips
-
The thicker you apply, the faster it processes
Apply as close to the roots as possible without touching the skin, to prevent irritation.
Step 5: Start the Timer (Step 1)
Every client processes differently, so timing is a guide, not a rule. Always monitor closely to avoid over-processing.
Alba Re;Set system timing guide (Step 1 Re;Lax):
-
Fine / damaged: 4–5 min
-
Medium: 6–8 min
-
Strong: 9–10 min
Step 6: Cover Lashes with Cling Wrap
Stretch a small piece of cling wrap and place it over the lashes. Make sure there are no air pockets.
Cling wrap helps to:
-
lock in warmth
-
prevent Step 1 drying out
-
speed up softening

Step 6.5 (Optional): Wipe Step 1 Off the Tips
This is optional, but great if you’re worried about overprocessing the ends.
Around the 3–5 minute mark:
-
Lift the wrap slightly
-
Gently wipe Step 1 off the tips only
Then you can apply Re;Vive cream to the tips to keep them hydrated and protected.
Re;Vive will:
-
instantly restore pH balance
-
stop Step 1 processing instantly in that area
Step 7: At 2/3 Processing Time, Wipe Step 1
Once you’re about two-thirds through Step 1, wipe off the Re;Lax cream using a dry applicator such as long micro brush.
Example:
If the client needs 10 minutes, wipe around the 7 minute mark.
If the cream is hard to remove cleanly, apply Re;Vive cream to the lashes first.
This helps stop processing and makes cleanup much easier.
By this point, lashes should feel:
✅ soft and flexible
✅ minimal resistance

Step 8: Eyelid Taping
Remove the under-eye pads, then tape the eyelid to expose the lash base and straighten the waterline.
This step is especially important if your client has extra skin or fat around the eyelid.
The whole point of Korean lash lift is processing right down to the base for that maximum lift and length, so you want that base fully exposed.

Step 9: Place the Flat Jelly Shield
Attach the flat jelly shield close to the waterline.
Double-check:
-
no lashes are caught underneath
-
the shield is properly secured (tape the sides if needed)

Step 10: Attach Lashes to the Flat Shield
Now attach lashes onto the flat shield.
Because the lashes are already about 2/3 processed, this part should feel much easier than doing it at the beginning.
Then check the base:
If most lashes stay down:
→ you probably only need 1–2 more minutes
If many lashes are popping off:
→ process longer than 1–2 minutes (try 3-4 minutes)
Now apply Step 1 only to the base area to complete the softening step. This step helps you avoid both under-processing and over-processing.
Optional: Apply Re;Vive to the ends again while you wait to protect them.

Step 11: Remove Step 1 When Fully Softened
Once lashes are 100% softened and you have:
✅ no bounce-back
✅ no popping off
Remove the cream straight away, along with the flat shield and tape.

Step 12: Attach the Main Curling Shield
Replace the flat shield with your curling lash lift shield.
Why?
Step 1 only relaxes and softens the natural lashes. The lashes are actually shaped and lifted during Step 2, so switching to your curling shield is what creates the final lift and curl.
Position it as close to the lash line as possible and tape both sides if needed.

Step 13: Wrap Lashes to the Shield
Apply a thin layer of Re;Vive Cream evenly over the lashes, then wrap and align lashes straight using a micro brush or comb.
Re;Vive helps lashes stay hydrated and stick naturally, so you don’t need lash lift glue or balm.
Important:
If lashes won’t stay in place and wrapping feels impossible, it usually means Step 1 wasn’t fully completed. If that happens, don't worry! Simply apply Step 1 cream again to process further (especially at the base).
Make sure lashes look super clean and straight on the shield:
-
evenly spaced
-
fully separated
-
no criss-crossing
- Inner corners and baby lashes are attached securely too
Remember: what you see now is what you’ll get in the final result, so slow down and make it perfect.

Tip: Make sure the waterline doesn’t flip upward
During wrapping, gently hold the shield with your other hand, and try not to wrap the lashes too tightly to the shield, otherwise the waterline can be exposed. This can lead to an uneven, underwhelming lift.
Use a lash mirror to check everything is wrapped neatly with no waterline showing.

Step 14: Step 2 – Re;Form
Apply Step 2 cream evenly from the lash base upward, being careful not to ruin placement.
Make sure to apply on the entire lashes including inner and outer corners.
Re;Set System Step 2 timing guide:
4–7 minutes
-
fine lashes: 4 min
-
medium lashes: 5-6 min
-
thicker lashes: 7 min
Most lash lift damage happens during Step 1. Step 2 is usually safer as long as you follow the timing guide.
No cling film is needed for Step 2, but if baby lashes pop off, use lash lift compensators to hold them down.

Step 15: Optional Tint + Clean Up
When time is up:
-
Remove Step 2 with a damp cotton pad or applicator
-
Gently peel away the shield and tape
If you’re tinting lashes, do it now.
Processing time depends on tint brand, but since lashes have been chemically treated, tint usually processes faster than normal, so monitor carefully and remove completely when finished.
And that’s it. You don’t need Step 3 because we’ve been using Re;Vive throughout the treatment.

Finish by applying Fix & Finish Serum with a clean applicator.
This final step is like a blow-dry for the lashes:
-
hydrates and prevents dryness for the rest of the day
-
makes after photos look amazing
Results can last 6–8 weeks with proper aftercare.
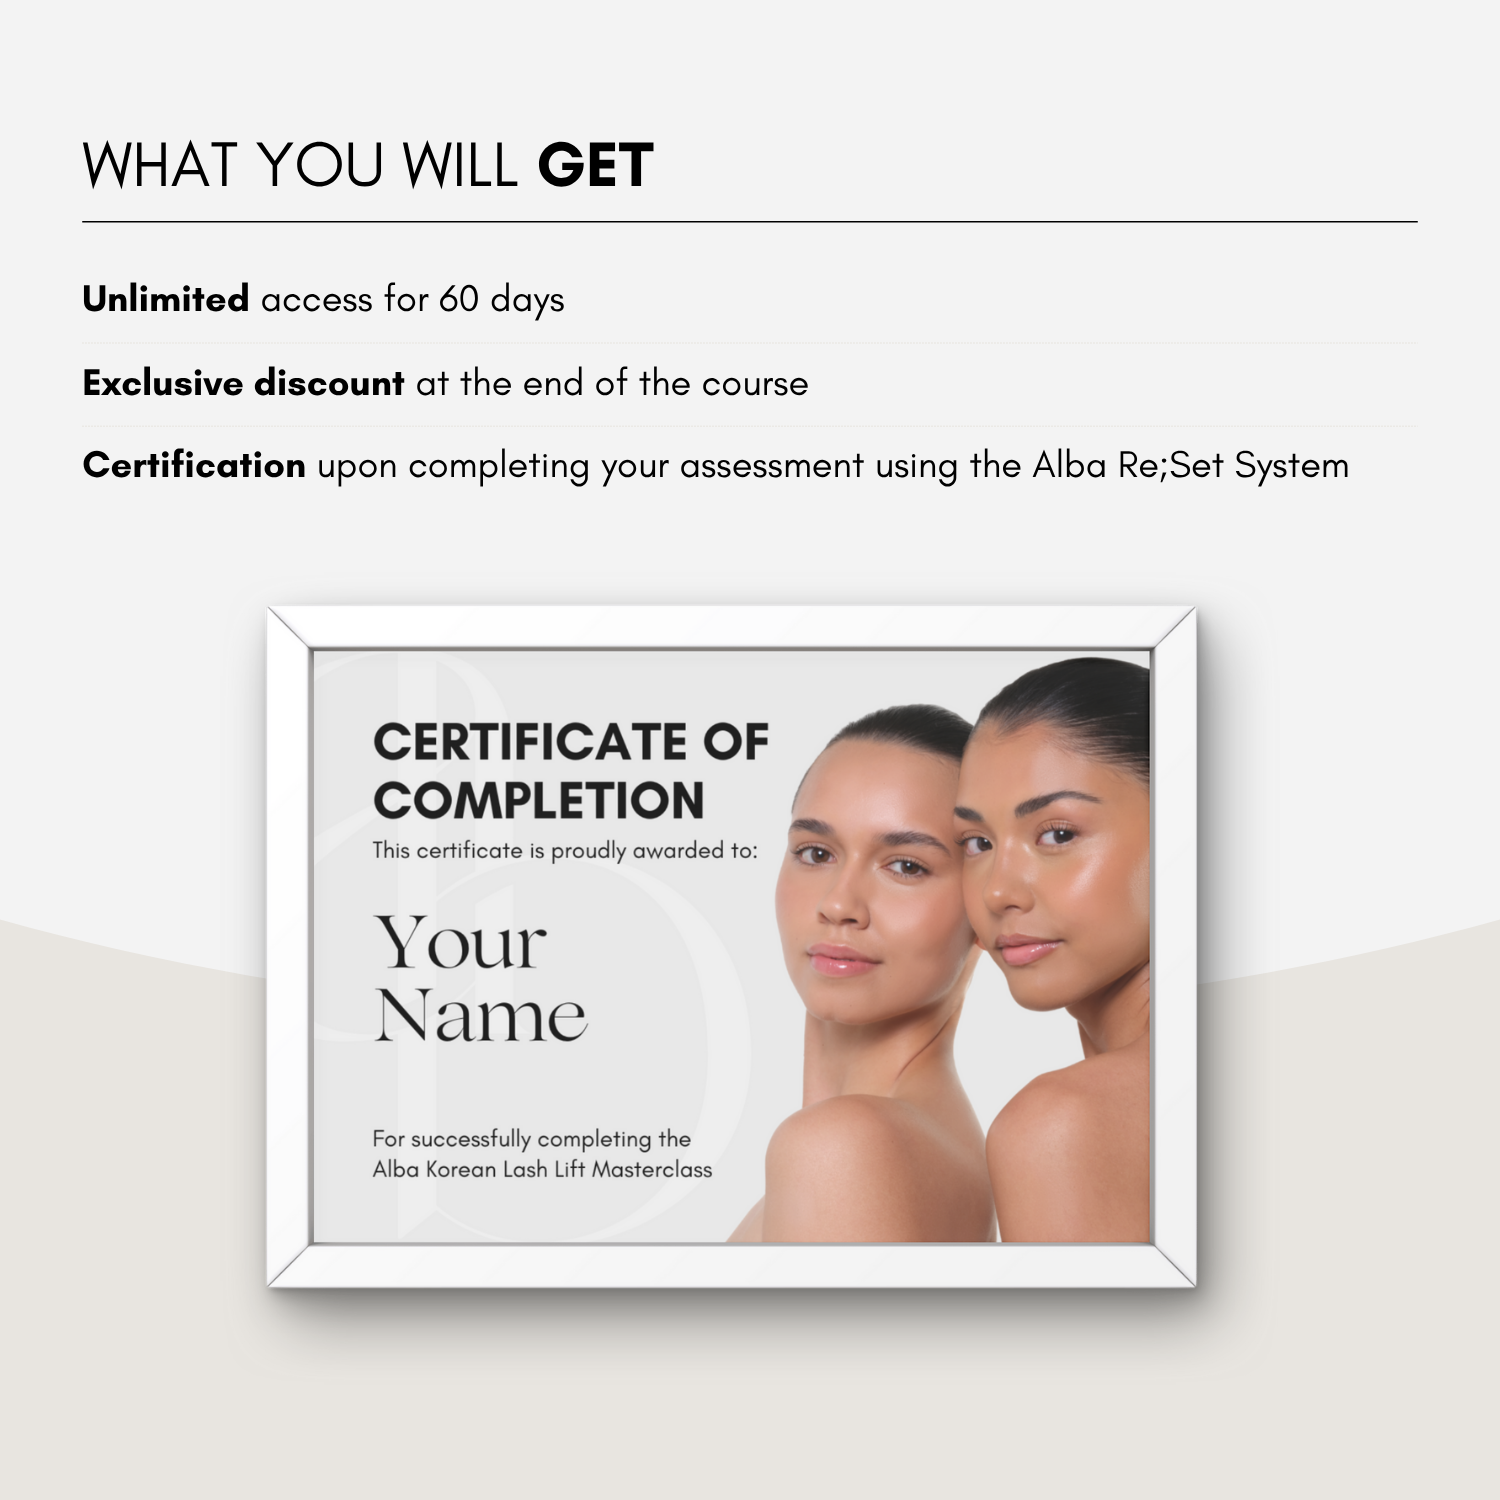
Want to learn more about Korean Lash Lifts? Lucky for you, we’re offering a FREE online masterclass. Enrol today and get certified!
Plus, check out the Re;Set Lash Lift System, specially designed for the Korean lash lift technique. It’s made in Korea and packed with lash-loving ingredients like collagen, keratin, and amino acids for healthier results.

Bonus: Lash Lift Aftercare (Client Instructions)
Lash lift aftercare is essential for long-lasting results and healthy natural lashes. Make sure your clients follow these rules:
Avoid water and moisture for 24 hours
-
Avoid water, steam, sweat, or moisture in the first 24 hours
-
Avoid washing your face around the eye area
No eye makeup or mascara (first 24 hours)
-
Avoid mascara (especially waterproof formulas)
-
Avoid heavy eyeliner or eyeshadow that may disrupt the lift
Be gentle with lashes
-
No rubbing or tugging
-
Sleep on your back if possible to avoid crushing lashes
Avoid heat and steam
-
No sauna, hot tubs, or intense heat
-
Heat can weaken the lift
Avoid oil-based products
-
Oils can weaken the lift
-
Use water-based, oil-free products around the eyes
Comb lashes daily
-
Use a clean spoolie to keep lashes neat and separated
Keep lashes hydrated with home care
After 24 hours, recommend daily lash serum for hydration and lash health, such as:
Book the next appointment
A lash lift lasts around 6–8 weeks, depending on the lash cycle, so rebooking helps keep results consistent.